键盘映射
现象
如果经常用Mac远程操作Windows的话,一个非常别扭的事情是:
- 在Mac系统,复制和粘贴是
command + c和command + v。 - 在Windows系统,复制和粘贴是
ctrl + c和ctrl + v。 - 所以,Mac远程Windows的时候,就需要
control + c和control + v。
解决
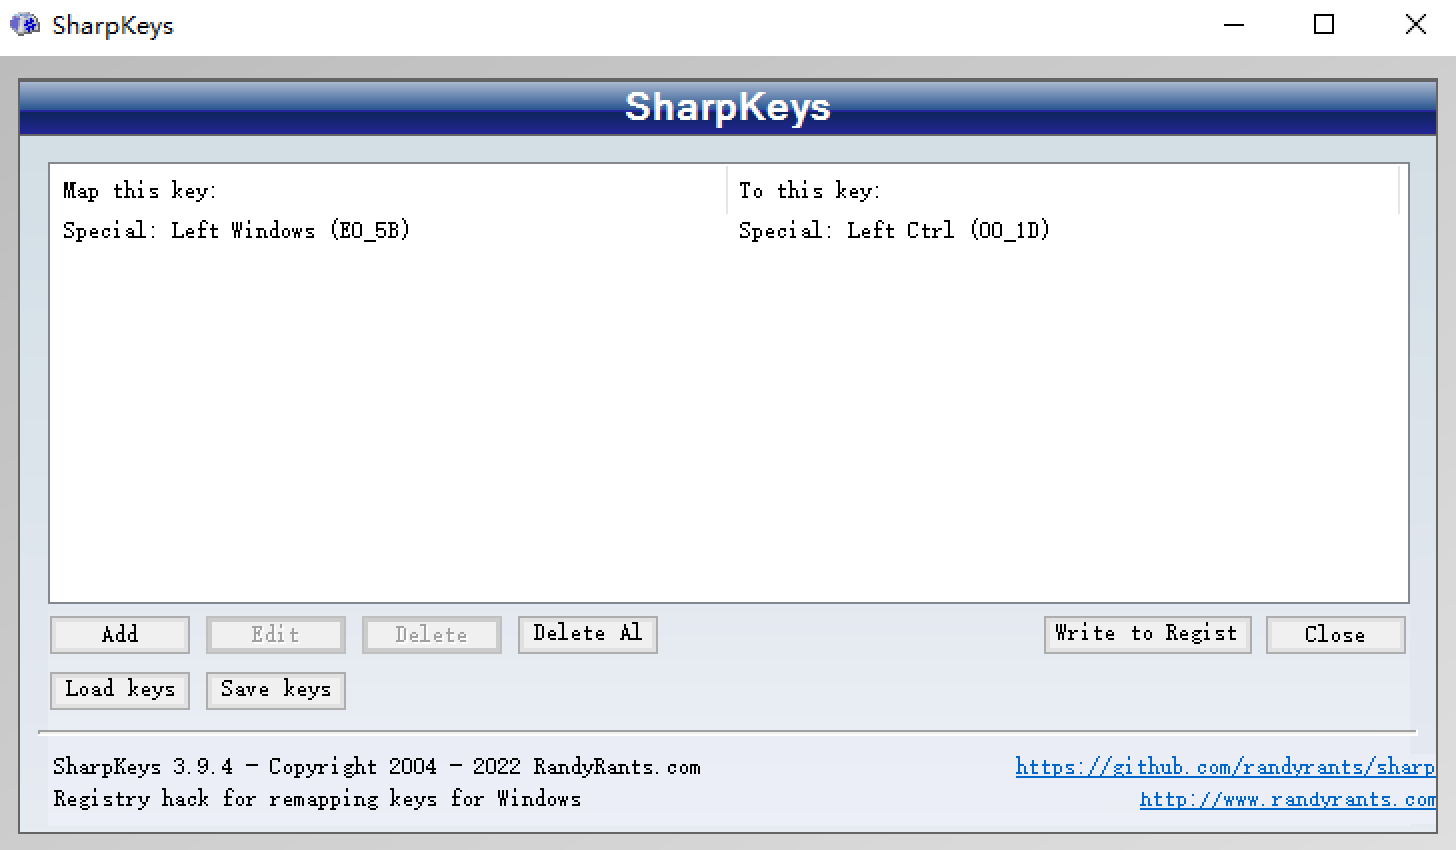
通过SharpKeys这个软件,可以修改键盘的映射。
Github地址:https://github.com/randyrants/sharpkeys
下载地址:https://github.com/randyrants/sharpkeys/releases
只需要修改如下一个键盘映射即可。
注意:
- 点击
Write to Regist,写入注册表,然后重启才能生效。 - 类似
Parallels Desktop的工具,可能自带键盘映射,可以酌情考虑采用SharpKeys。
定时任务
任务计划程序
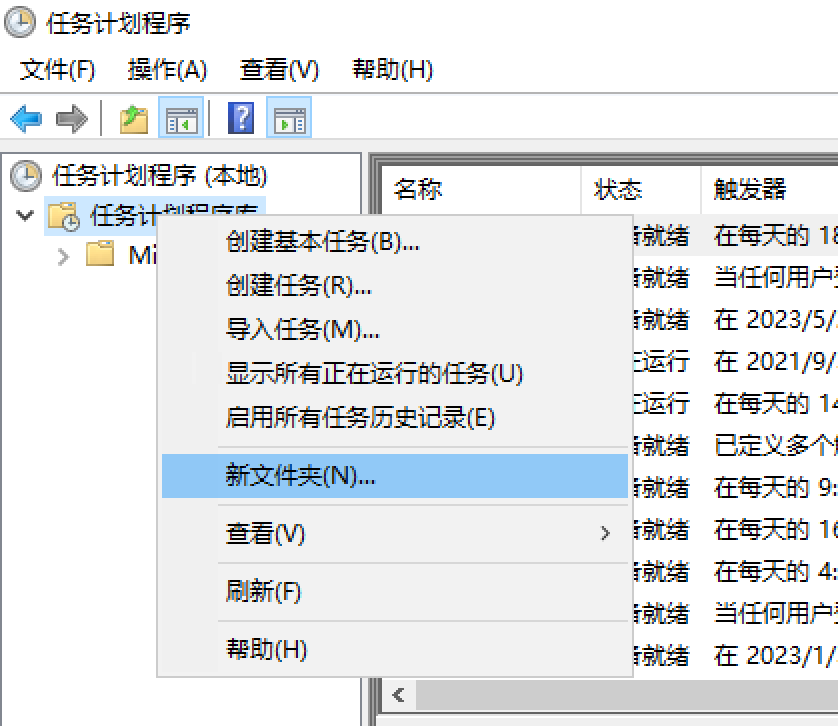
打开任务计划程序。

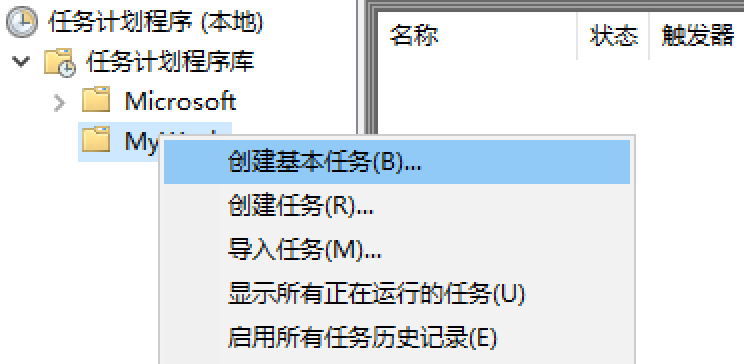
我们可以新建一个文件夹,统一存放我们自己的任务。
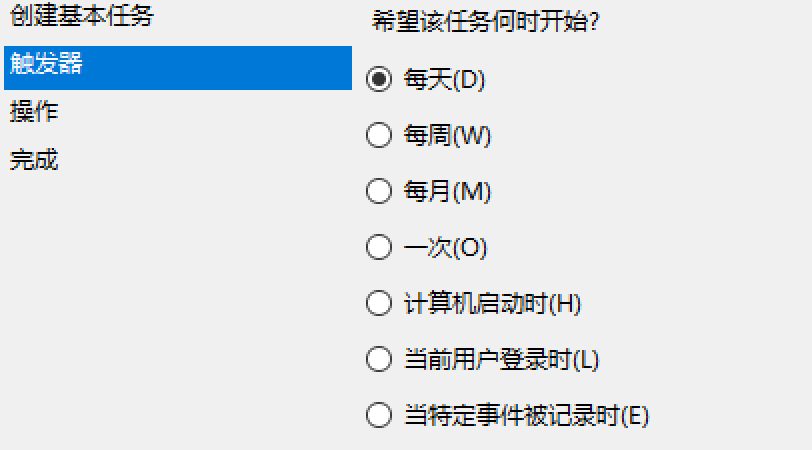
创建基本任务。
最高精度是天。
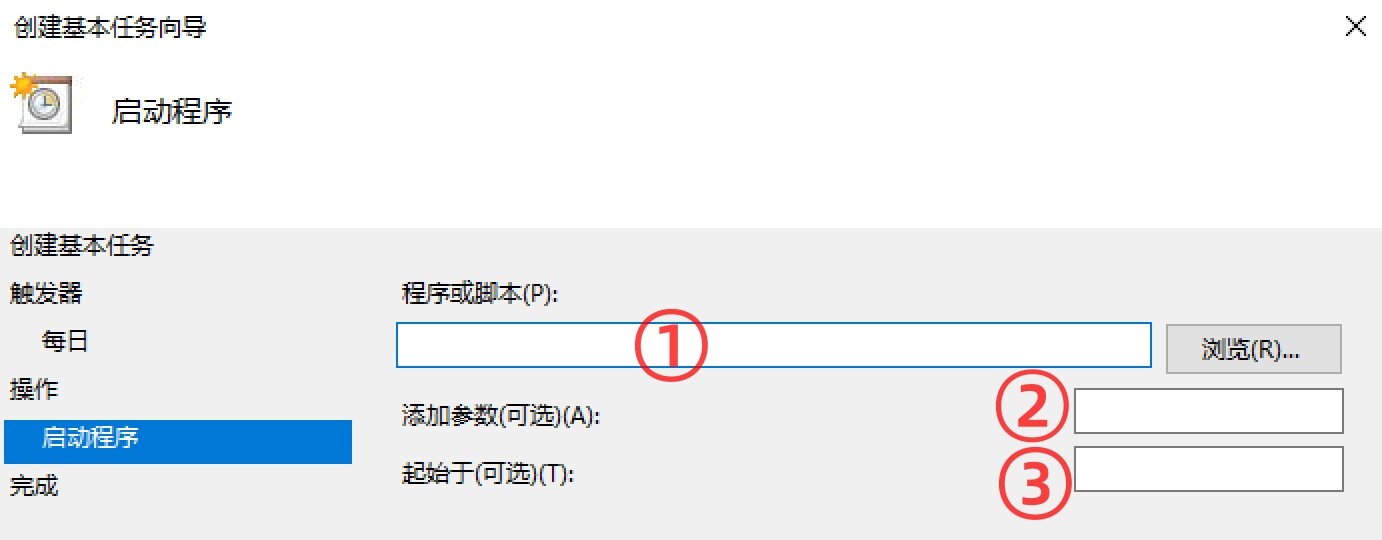
启动程序。
其他操作按照提示输入即可。该部分需要提一下。
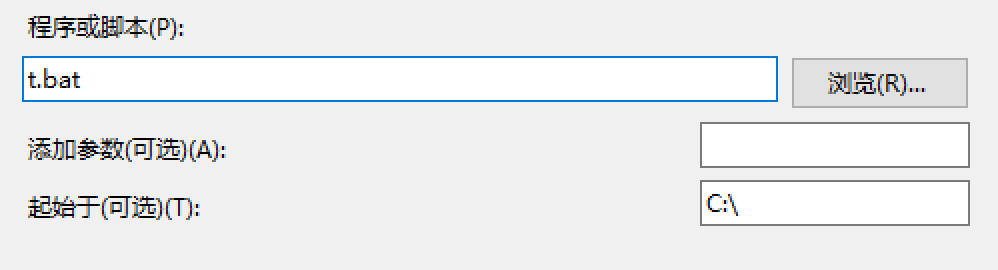
程序或脚本:脚本文件名。添加参数:留空。起始于:脚本所处目录。
例子
假设存在一个Python脚本,位于C:\t.py,内容如下:
1 | import datetime |
新建C:\t.bat,内容如下:
1 | python C:\t.py |
配置定时任务。
问题
有时候任何可能会执行失败,并有如下的提示

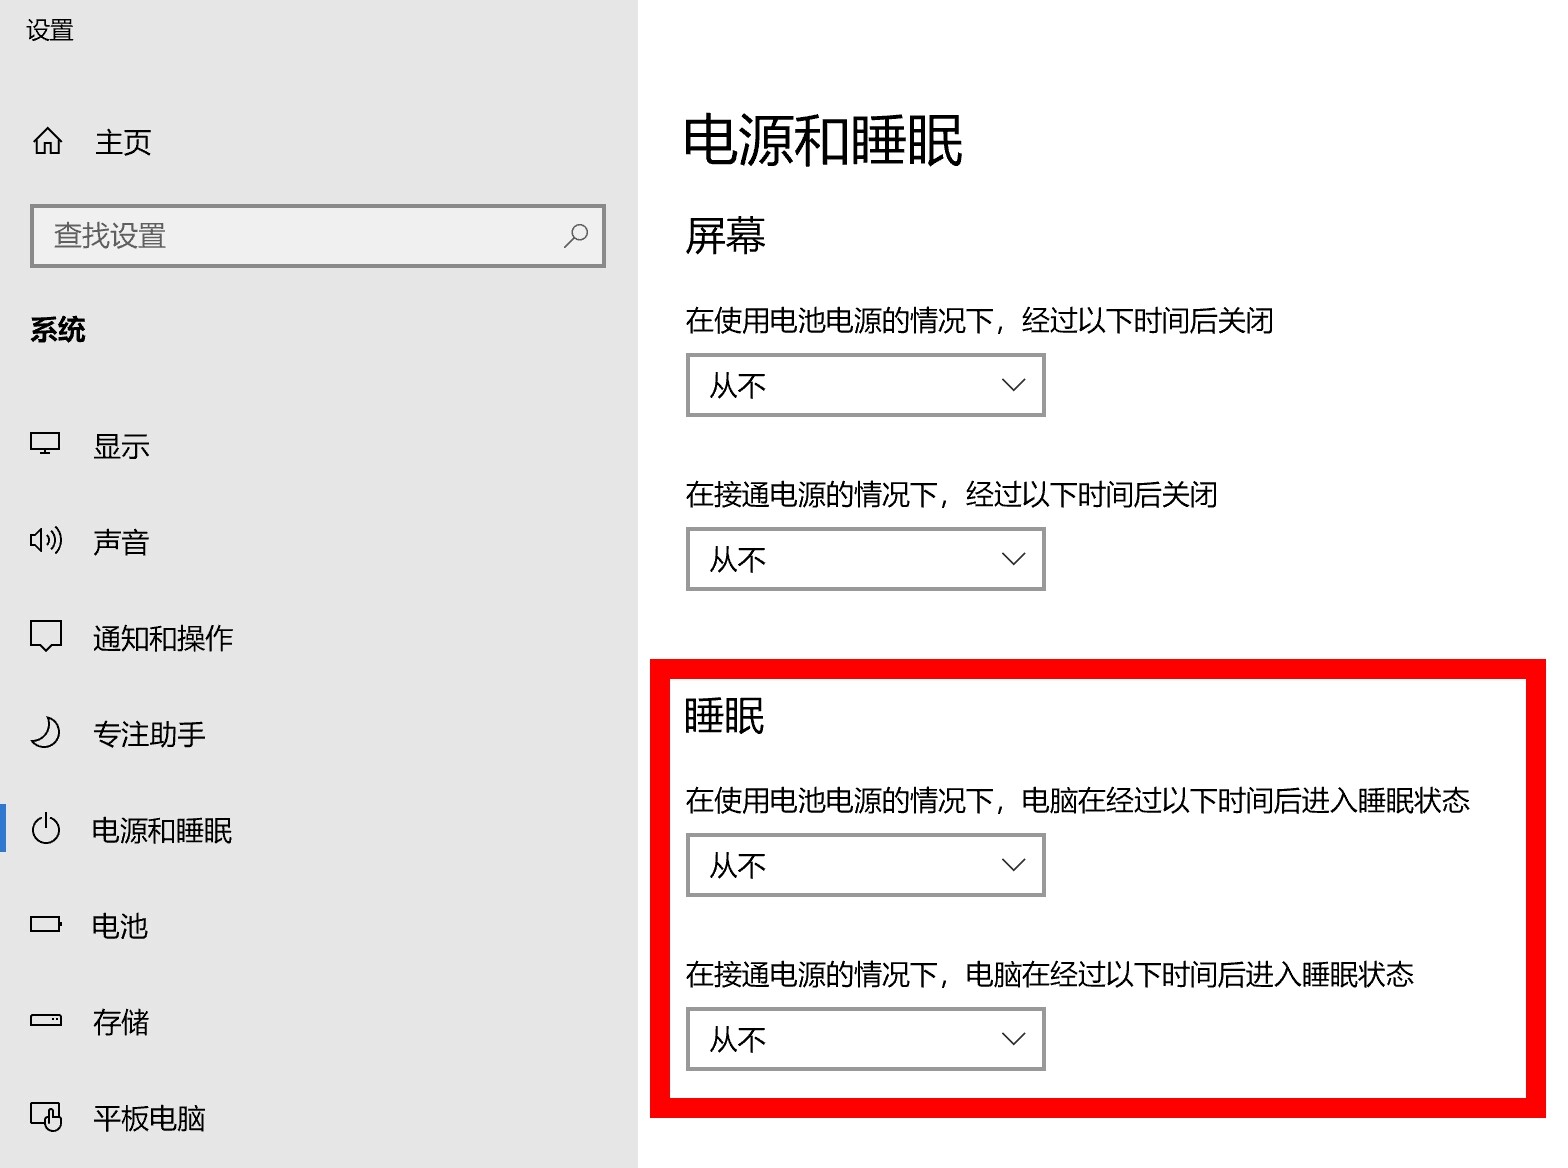
可以检查电脑是否会自动睡眠休眠等,并关闭。
特别注意,对于天翼云电脑,无法关闭。

电源和睡眠
把设置中电源和睡眠和睡眠相关的,设置为从不。在有些WindowsServer系统中,可能没有这个选项,但最好检查一下。
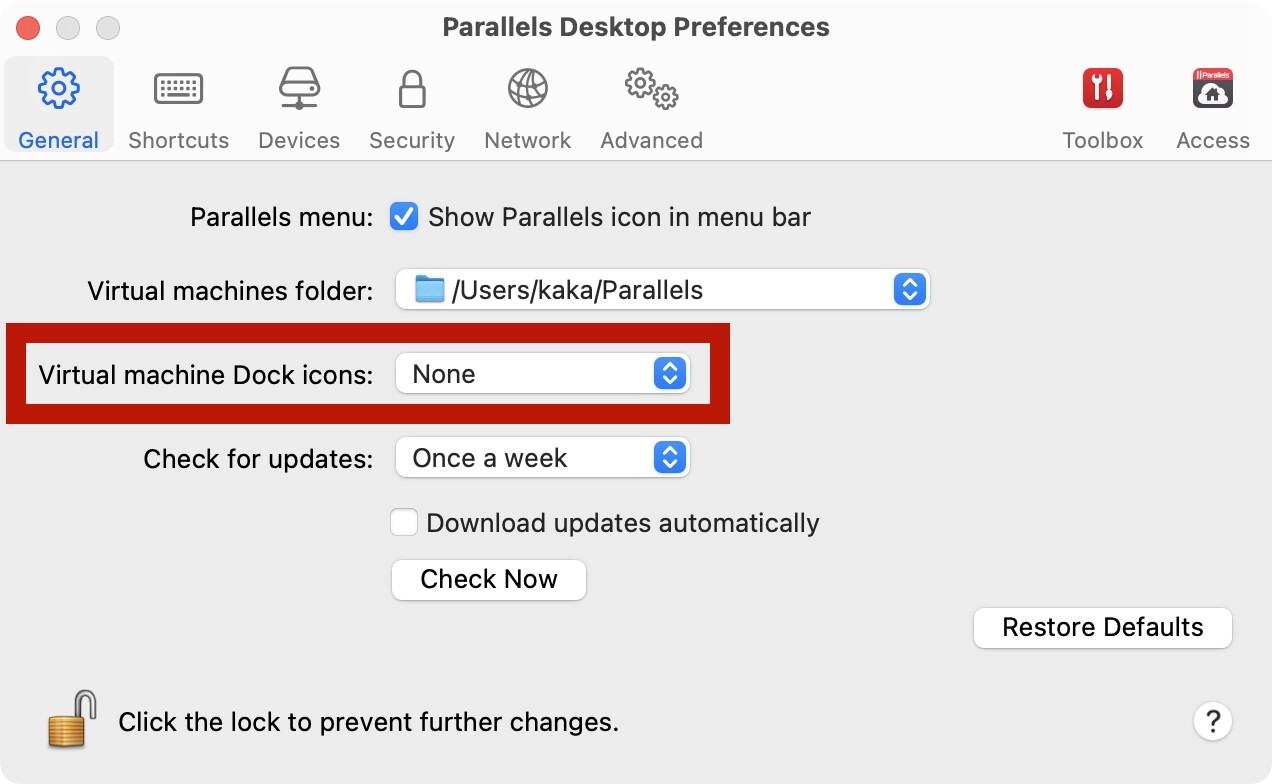
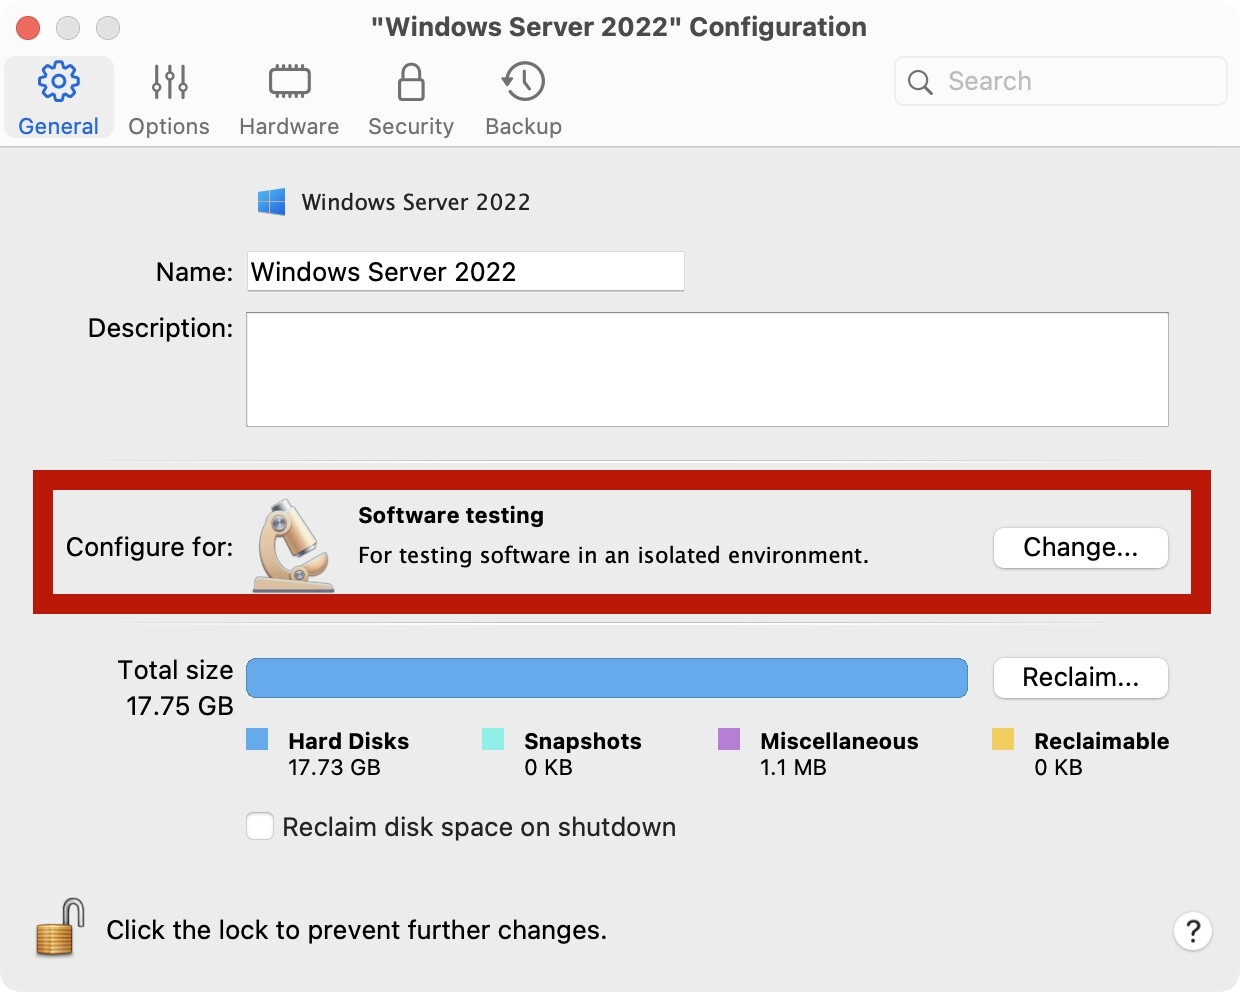
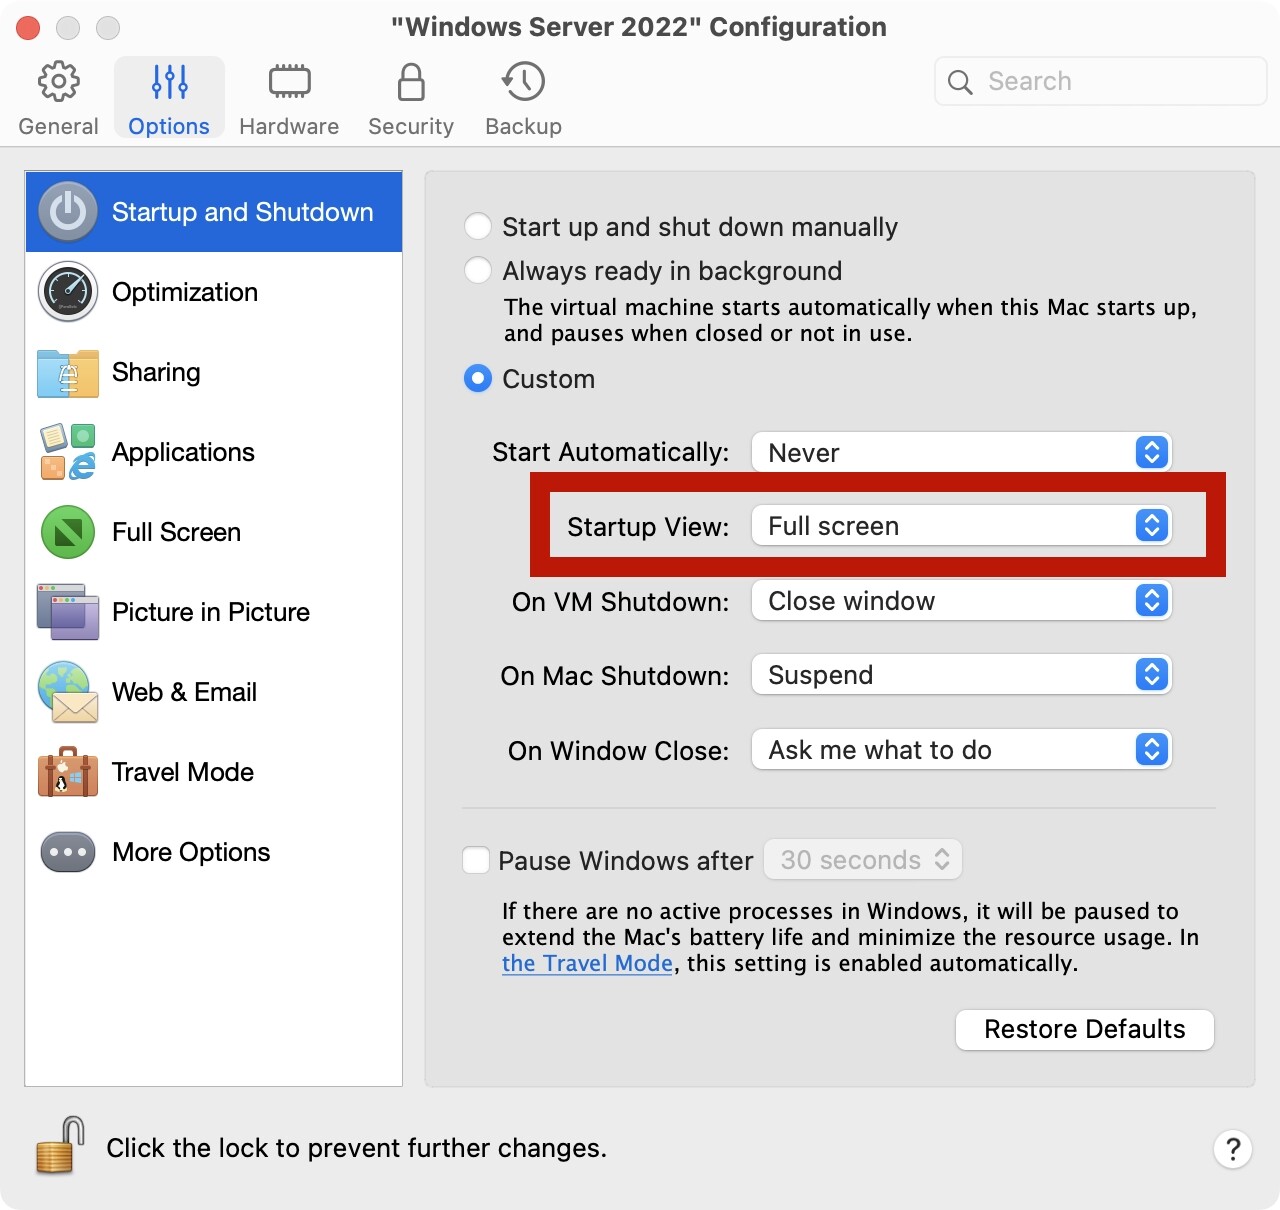
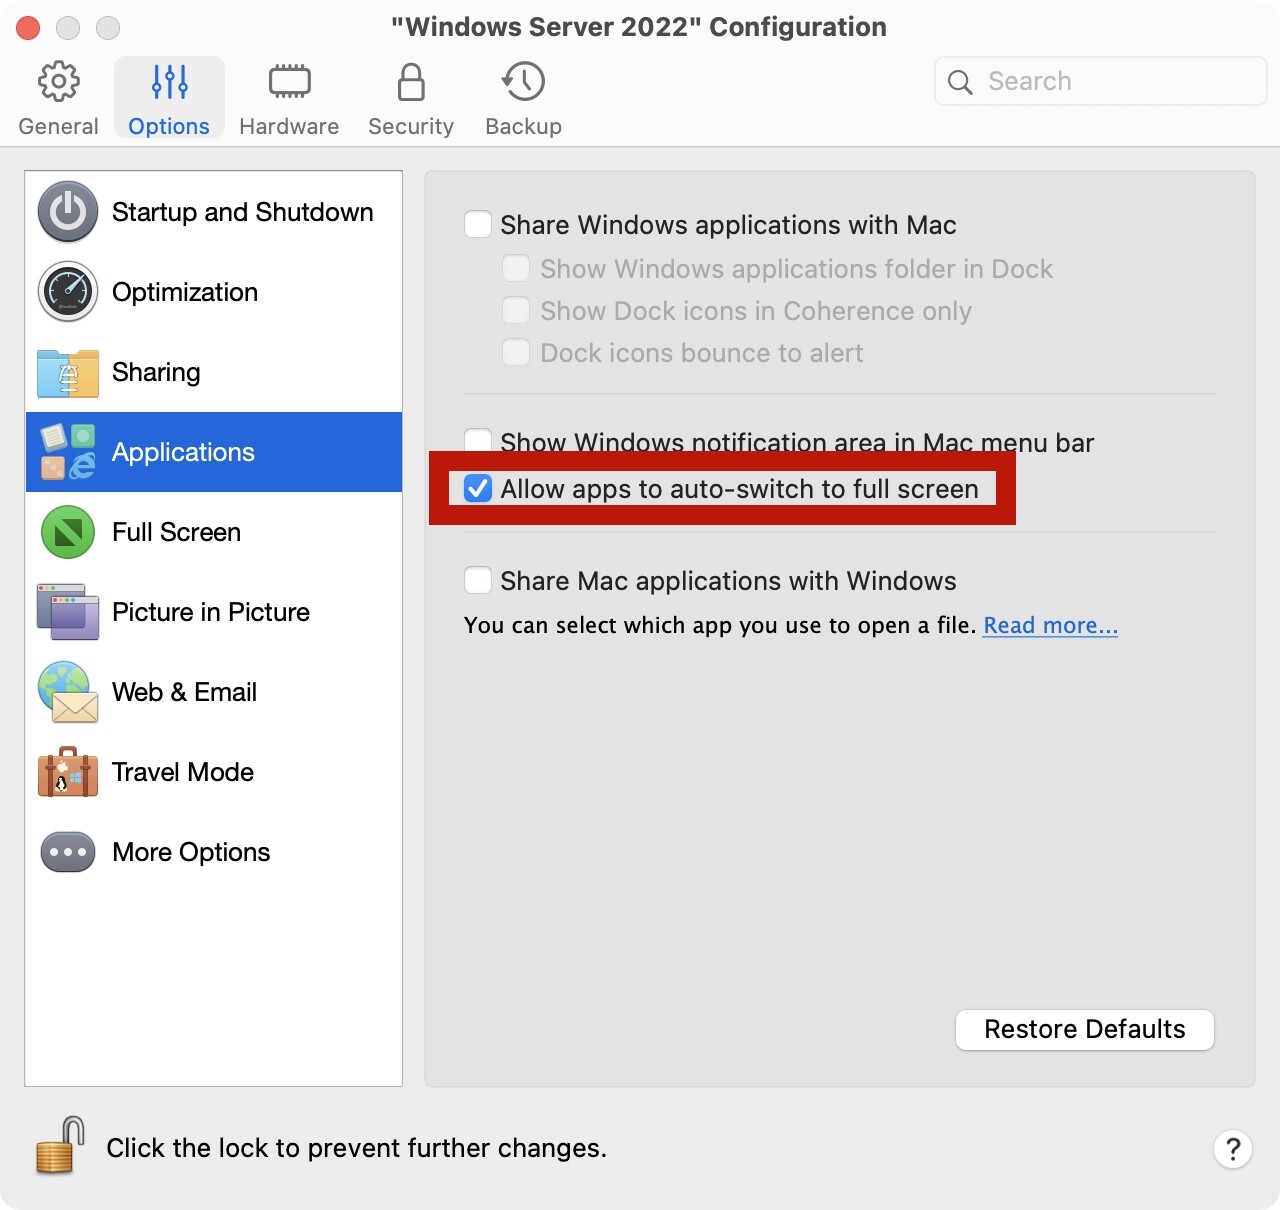
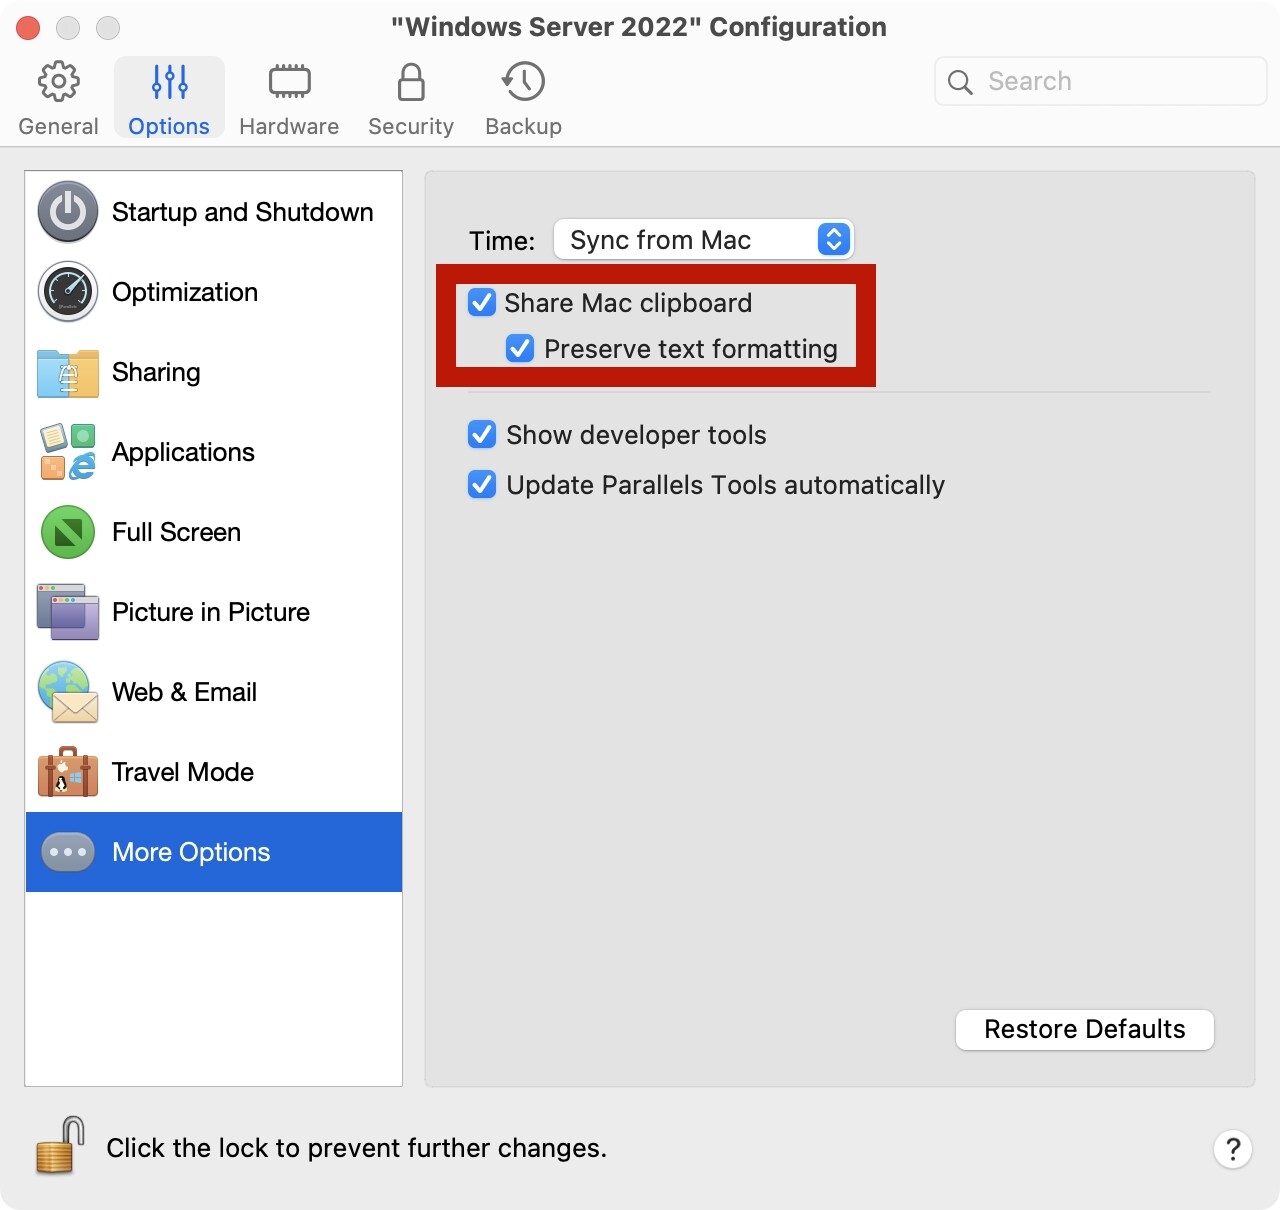
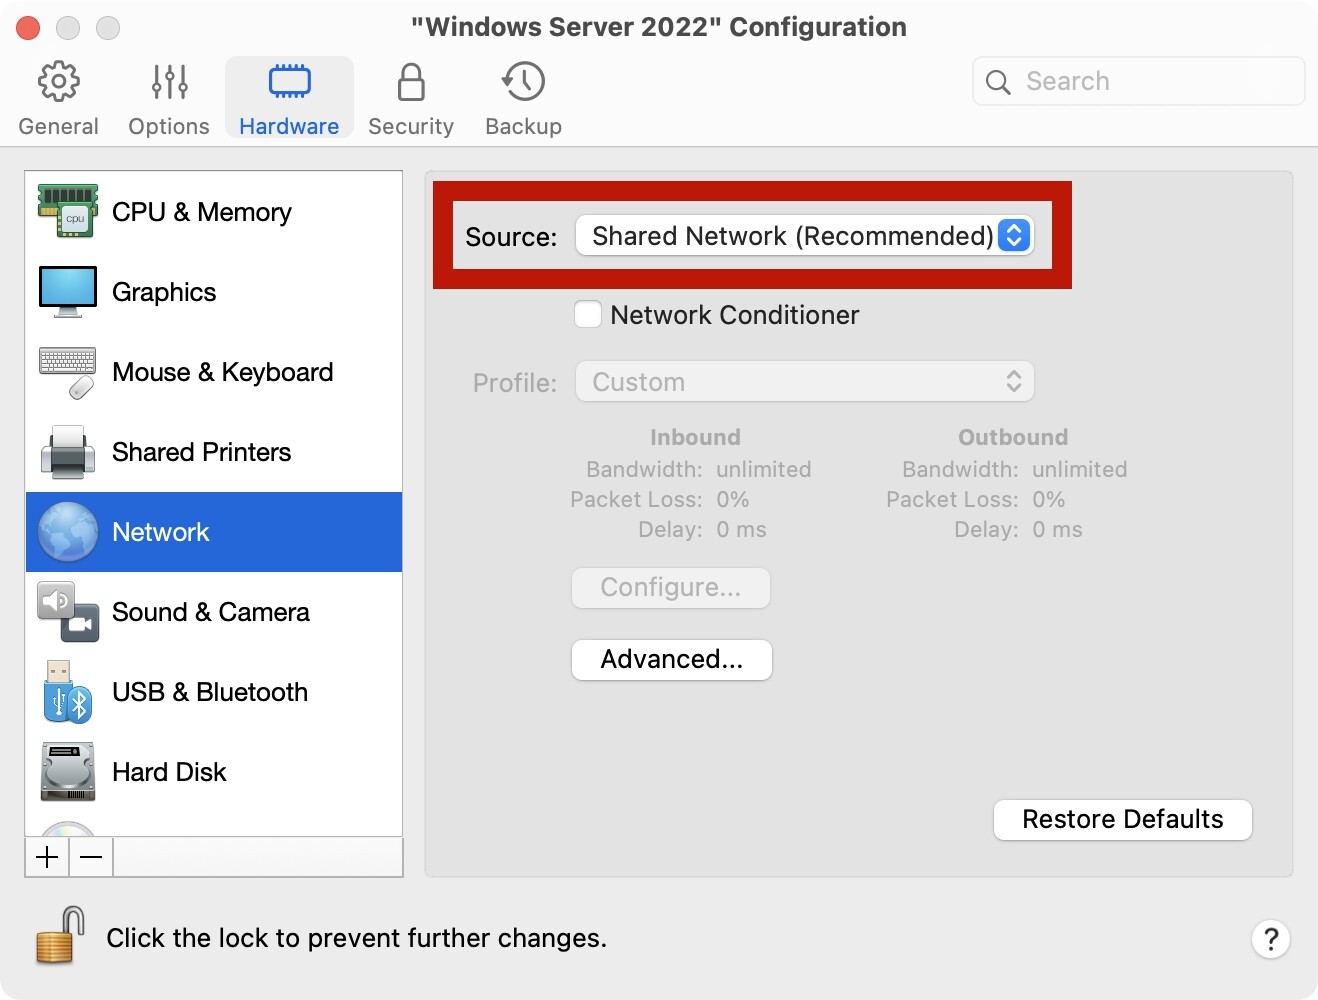
PD虚拟机
有些情况下,我们需要在本地通过虚拟机安装一个Windows,方便我们在本地对程序进行一些调试。在这里讨论一下在PD虚拟机中的一些推荐设置。


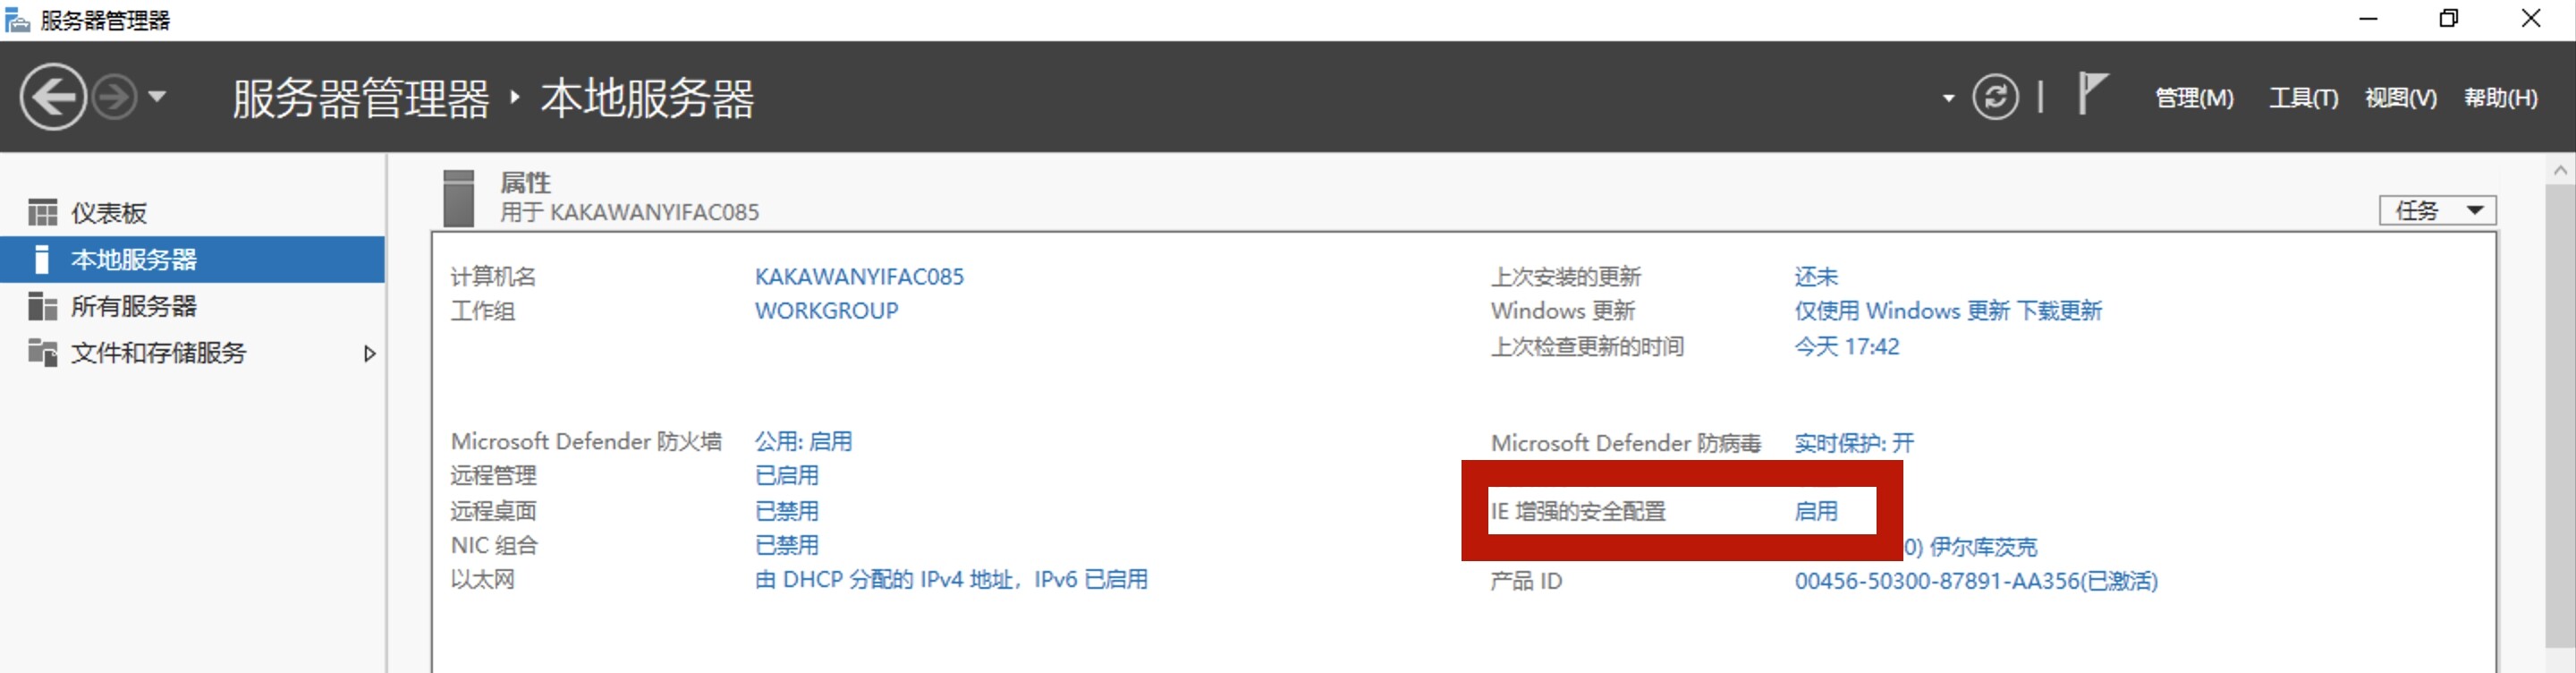
关闭IE增强
WindowsServer中默认会开启IE增强。
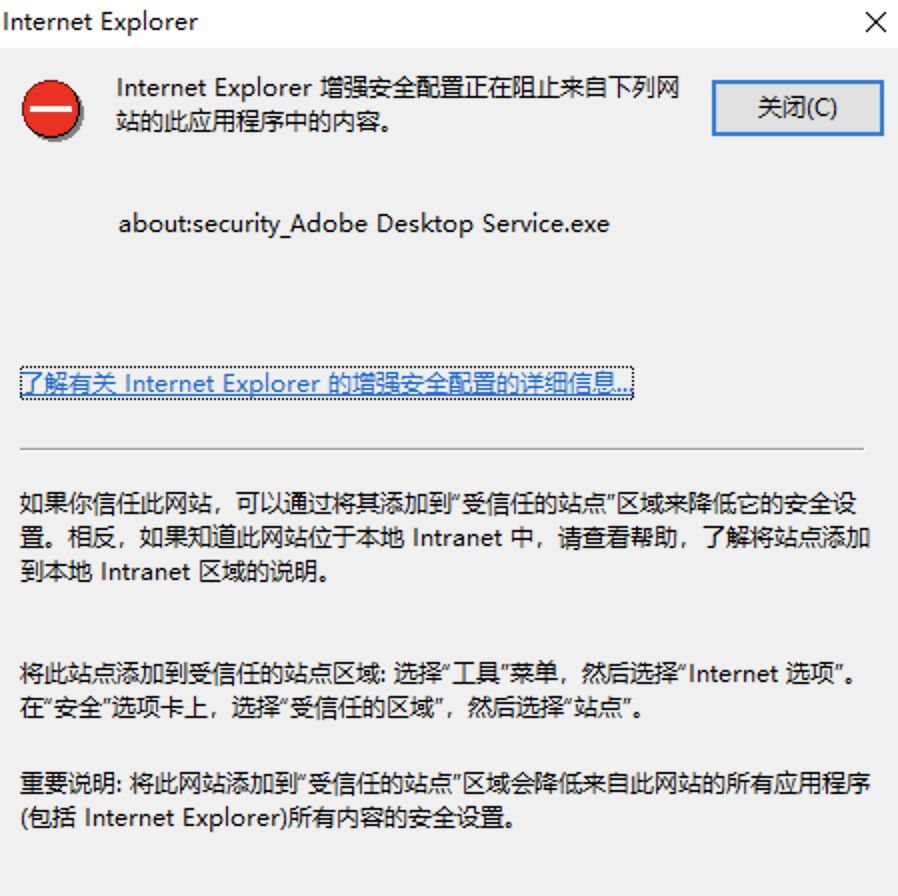
关闭方法如下:
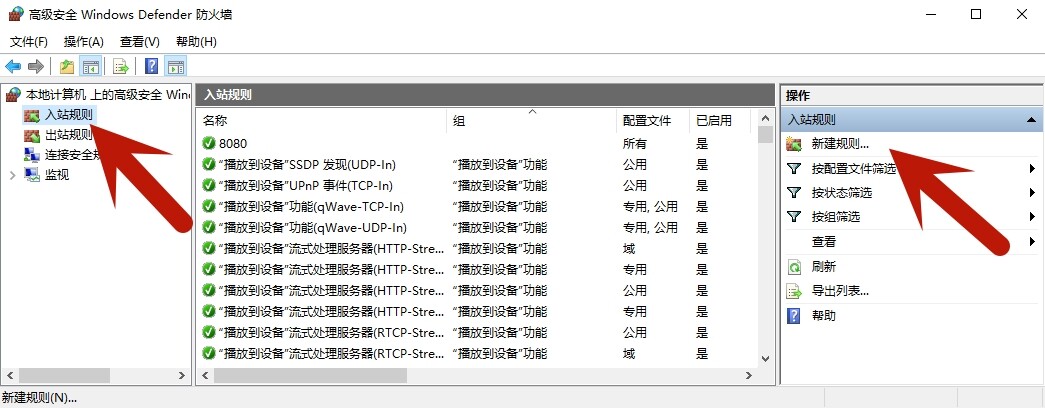
防火墙
找到高级安全 Windows Defender 防火墙,可以添加出站入站规则。
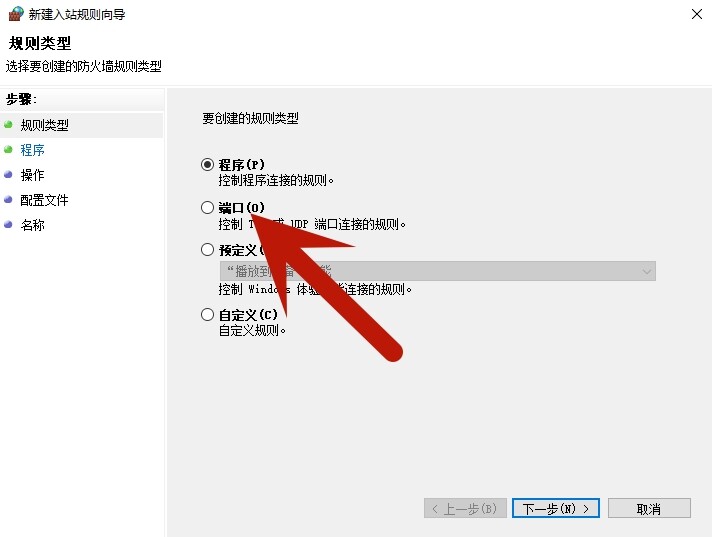
在Linux中的防火墙,我们一般是开端口,在Windows中,开端口选择如下。
时间同步
Windows与时间服务器进行同步的默认时间间隔为604800秒(7天),可以通过Time-Sync这个工具设置其他的同步间隔,还可以设置时间服务器。
例如阿里云的时间服务器:ntp.aliyun.com。
Time-Sync的官网:https://speed-soft.de/software/time_sync
注意:
- 设置完成后,软件不需要在后台运行。
- 建议以默认的客户端版本安装,如果安装为Windows服务,你的计算机自己就会成为NTP服务器。