概述
官网:http://www.ruoyi.vip/
官方文档:http://doc.ruoyi.vip
通过官网,我们可以看到RuoYi有三个版本:
- 若依管理系统
- 基于SpringBoot
- 前后端不分离
- Vue前端分离版
- 基于SpringBoot
- 前后端分离
- Cloud微服务版
- 基于SpringCloud的权限管理系统
- 前后端分离
本文讨论的是Vue前端分离版。
启动
步骤
- 通过RuoYi官网提供的地址下载
- 通过IDEA导入项目
- 创建数据库,
ry-vue - 执行sql文件夹中的sql文件
- 修改
application-druid.yml的MySQL连接信息 - 修改
application.yml的Redis连接信息 - 修改
logback.xml的log.path - 启动
ruoyi-admin中的启动类RuoYiAppliacation - 启动前端项目
进入到ruoyi-ui的目录中执行npm install安装依赖
执行npm run dev启动前端项目
application-druid.yml、application.yml和logback.xml位于目录RuoYi-Vue/ruoyi-admin/src/main/resources/。
问题解决
npm install
执行npm install,可能会有如下报错:
1 | npm ERR! code EEXIST |
使用sudo可以解决,sudo npm install。
npm run dev
执行npm run dev,可能会有如下报错:
1 | 95% emitting CompressionPlugin ERROR Error: error:0308010C:digital envelope routines::unsupported |
这是因为在Node的18版本中,默认使用了OpenSSL 3.0及以上的版本,而OpenSSL3.0对允许算法和密钥大小增加了严格的限制,我们可以通过设置NODE_OPTIONS环境变量来强制使用旧版本。
修改package.json的如下部分的"dev": "vue-cli-service serve",:
1 | "scripts": { |
对于MacOS和Linux,修改为:
1 | "dev": "export NODE_OPTIONS=--openssl-legacy-provider && vue-cli-service serve", |
对于Windows,修改为:
1 | set NODE_OPTIONS=--openssl-legacy-provider |
结构
代码结构
ruoyi-admin:web模块,存放controllerruoyi—common:公共模块,存放工具类ruoyi-framwork:框架模块,存放一些第三方框架代码和配置ruoyi-generator:代码生成器模块ruoyi-quartz:定时任务模块ruoyi-system:系统模块,存放domain,mapper,serviceruoyi-ui:前端项目
表结构
gen_table:代码生成器,表信息gen_table_column:代码生成器,列信息sys_config:系统配置表sys_dept:部门表sys_dict_data:字典目录表sys_dict_type:字典类型表sys_job:定时任务表sys_job_log:任务日志表sys_logininfor:登录信息表sys_menu:菜单表sys_notice:系统通知表sys_oper_log:执行日志表sys_post:岗位表sys_role:角色表sys_role_dept:角色和部门关系表sys_role_menu:角色和菜单关系表sys_user:用户表sys_user_post:用户和岗位关系表sys_user_role:用户和角色关系表
配置文件
项目的配置文件都在ruoyi-admin的resources中:
i18n:处理国际化。META-INF:此文件包含有关JAR内容的元数据。mybatis:mybatis配置信息。application.yml:项目的配置信息。application-druid.yml:数据库连接信息。banner.txt:启动时候的banner图标信息。logback.xml:日志配置信息。
岗位管理(部分源码解读)
本文以系统管理 -> 岗位管理为例,讨论和CRUD相关的部分源码。
分页
源码
获取岗位列表相关的代码如下:
1 | /** |
@PreAuthorize是SpringSecurity中的注解。
startPage
startPage(),这个处理分页。
我们点击startPage(),会发现最后调用了PageUtils的startPage()方法。
示例代码:
1 | package com.ruoyi.common.utils; |
分页方法通过PageHelper.startPage()实现,关于PageHelper,可以参考《12.MyBatis》的分页插件部分。
TableSupport.buildPageRequest
再点进PageDomain pageDomain = TableSupport.buildPageRequest();的TableSupport.buildPageRequest();,示例代码:
1 | package com.ruoyi.common.core.page; |
pageDomain中的很多属性来自ServletUtils.getParameter(XXX)。点进ServletUtils.getParameter,会发现最后还是通过HttpServletRequest获取参数。
关于HttpServletRequest,可以参考《13.Servlet、Filter和Listener》。
getDataTable
点进getDataTable(),该部分再组装返回的报文,示例代码:
1 | package com.ruoyi.common.core.controller; |
操作记录
导出,示例代码:
1 | (title = "岗位管理", businessType = BusinessType.EXPORT) |
注意@Log(title = "岗位管理", businessType = BusinessType.EXPORT),我们找到com.ruoyi.framework.aspectj.LogAspect,示例代码:
1 | package com.ruoyi.framework.aspectj; |
handleLog方法即记录日志的方法,其中绝大部分代码都在组装operLog实例,我们关注最后一行,以异步的方式记录操作日志到数据库。
1 | AsyncManager.me().execute(AsyncFactory.recordOper(operLog)); |
客户管理(代码生成器)
我们以客户管理为例,讨论代码生成器的用法。
假设存在一张表如下:
1 | CREATE TABLE `customer` ( |
生成代码
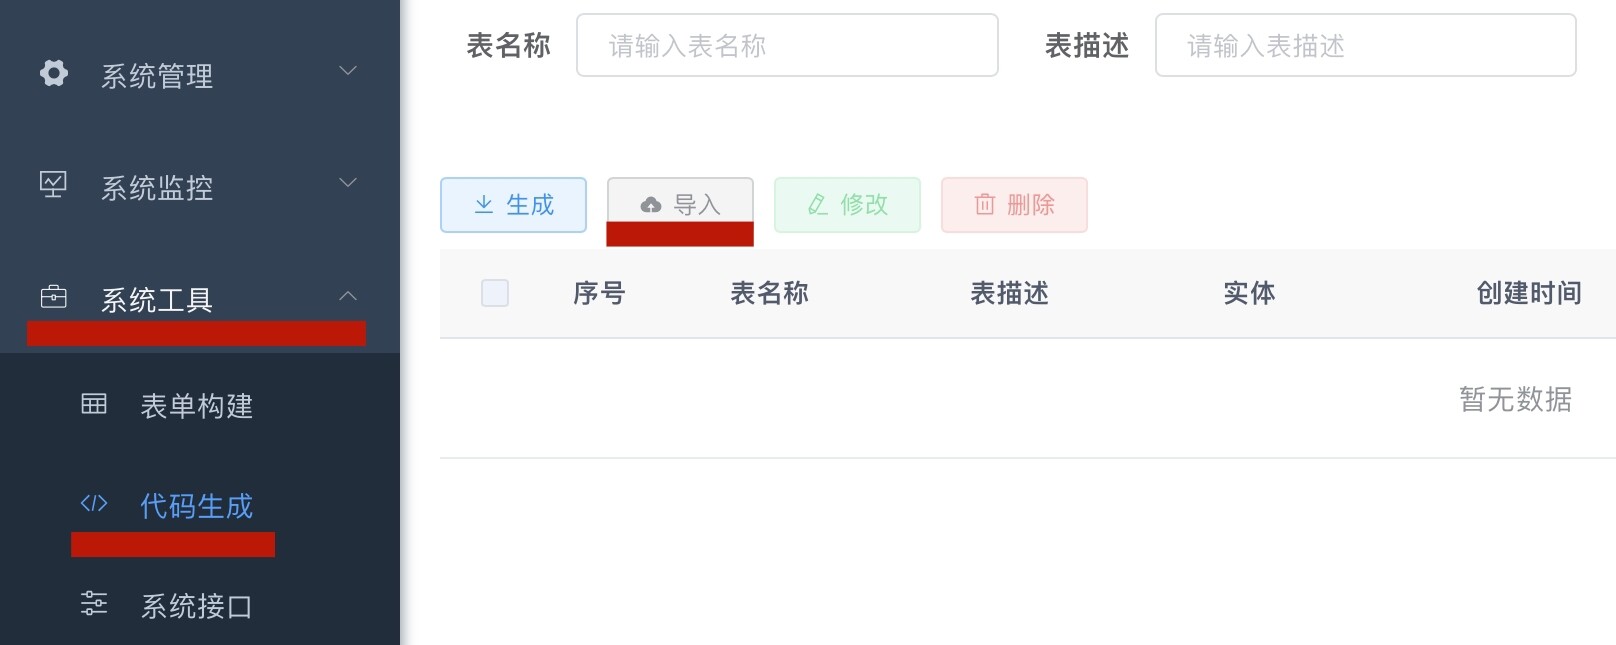
依次点击系统工具、代码生成,再点击导入。
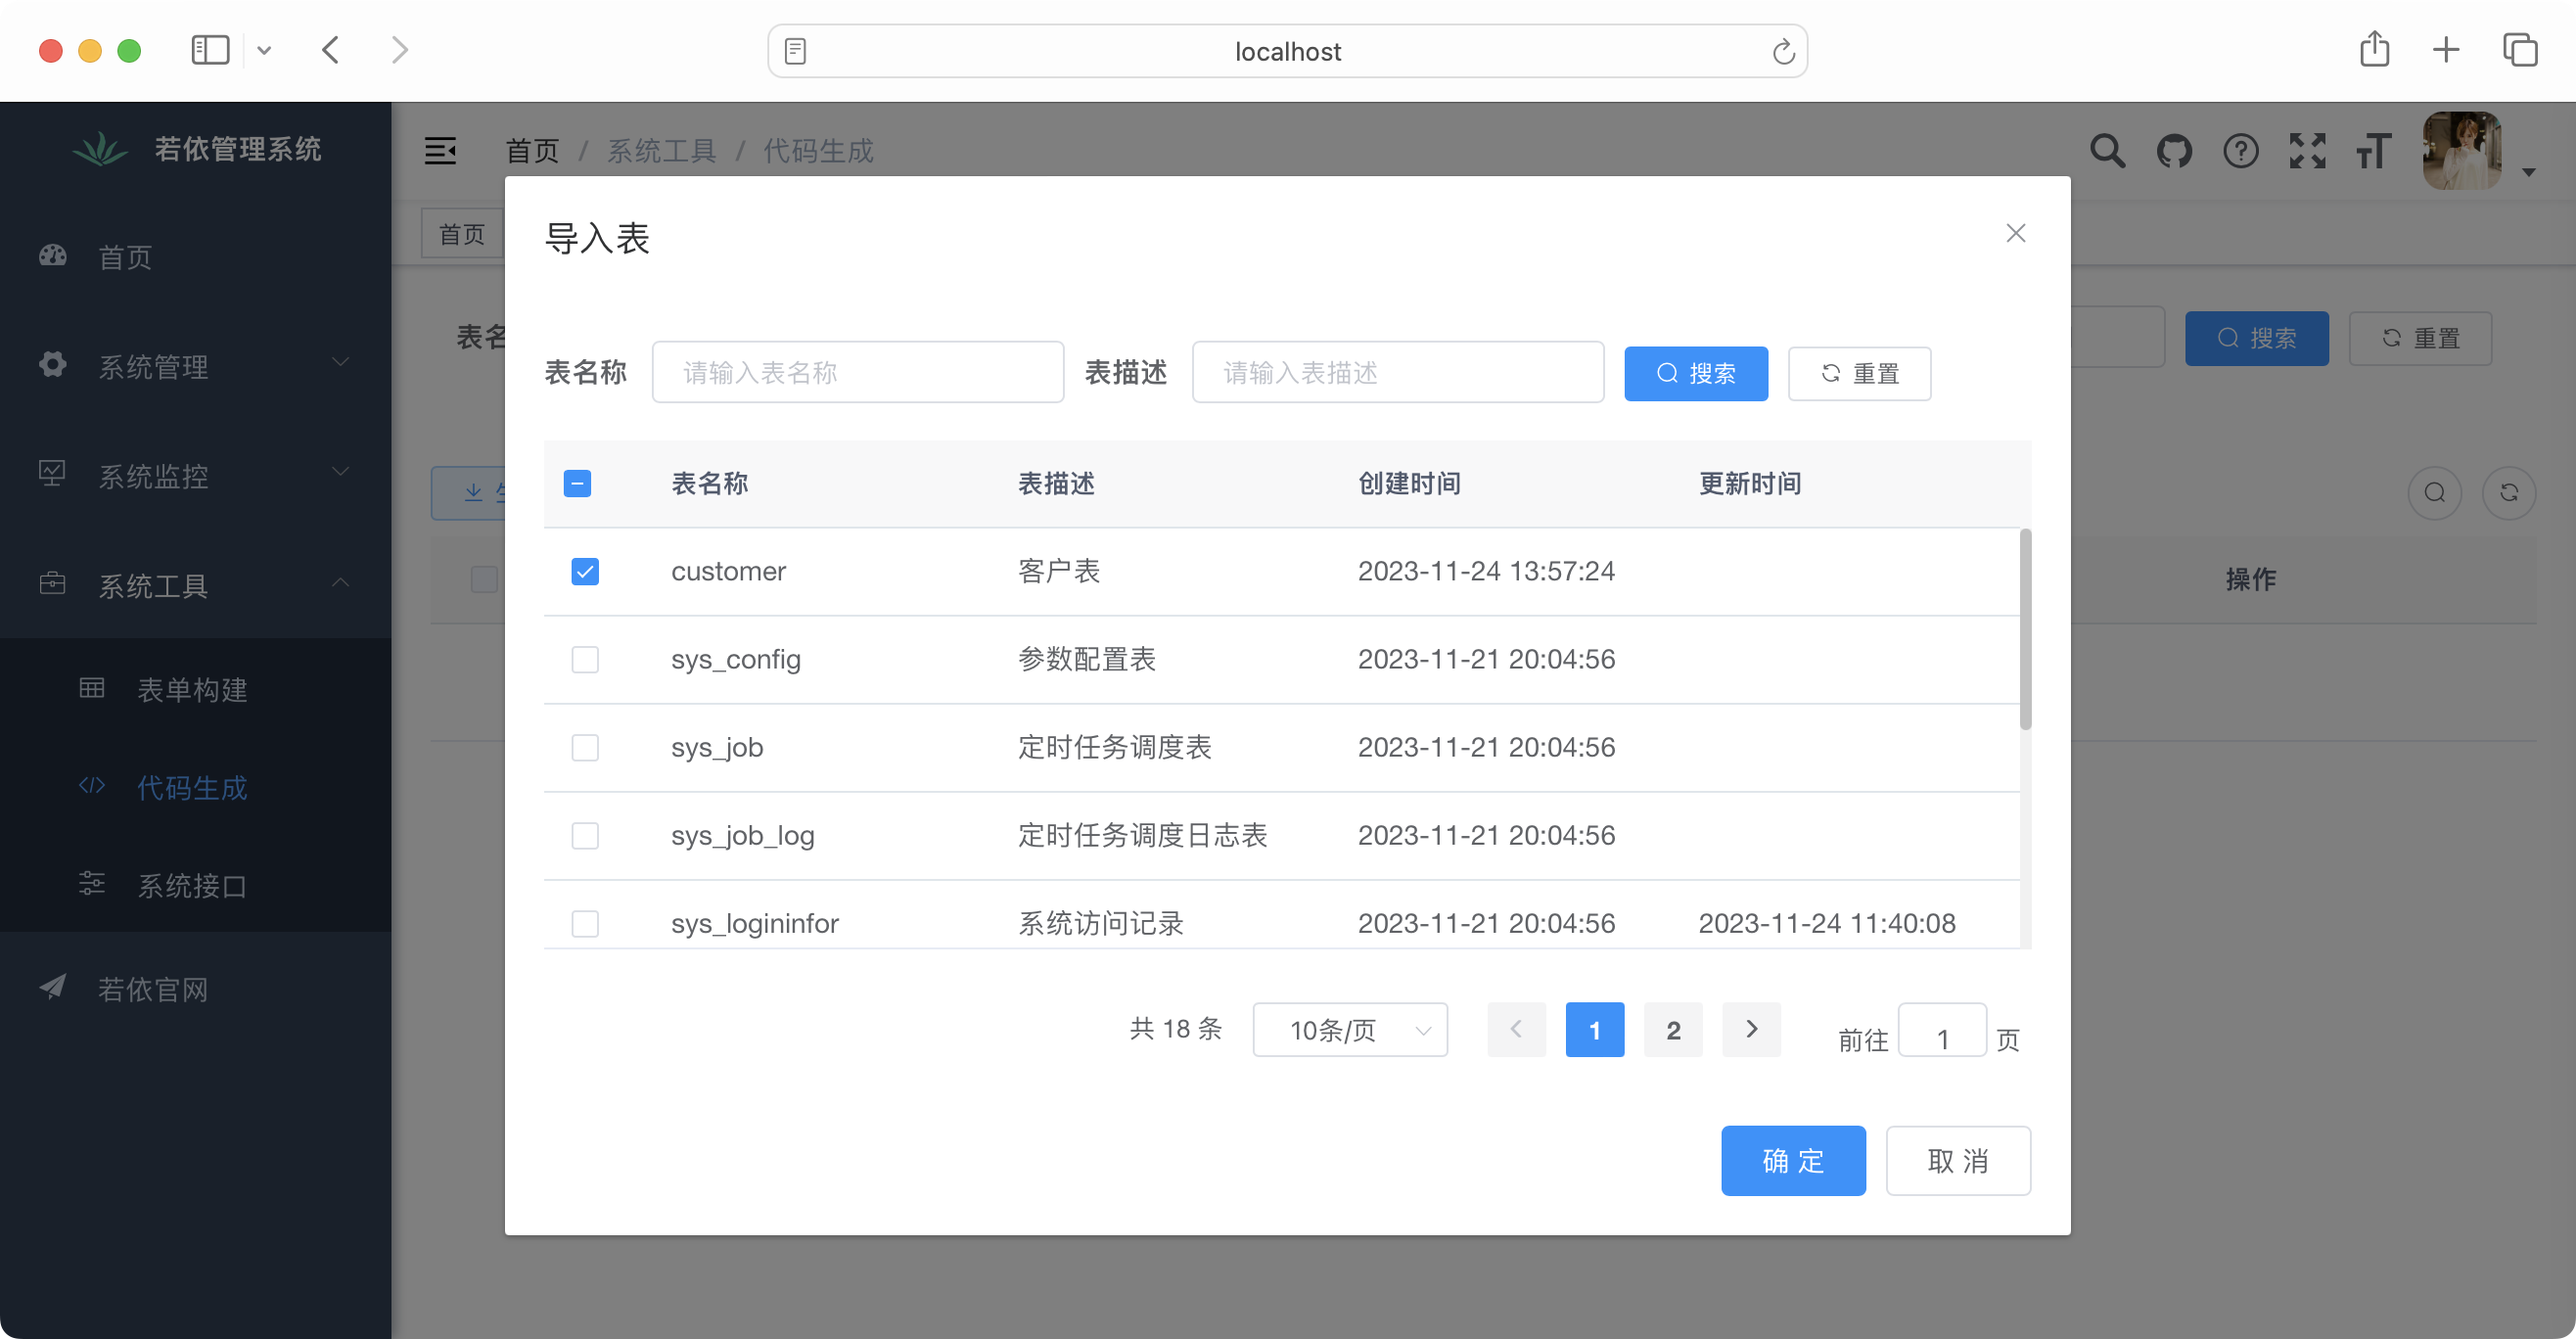
在弹出框中选择我们需要的表,点击确定。
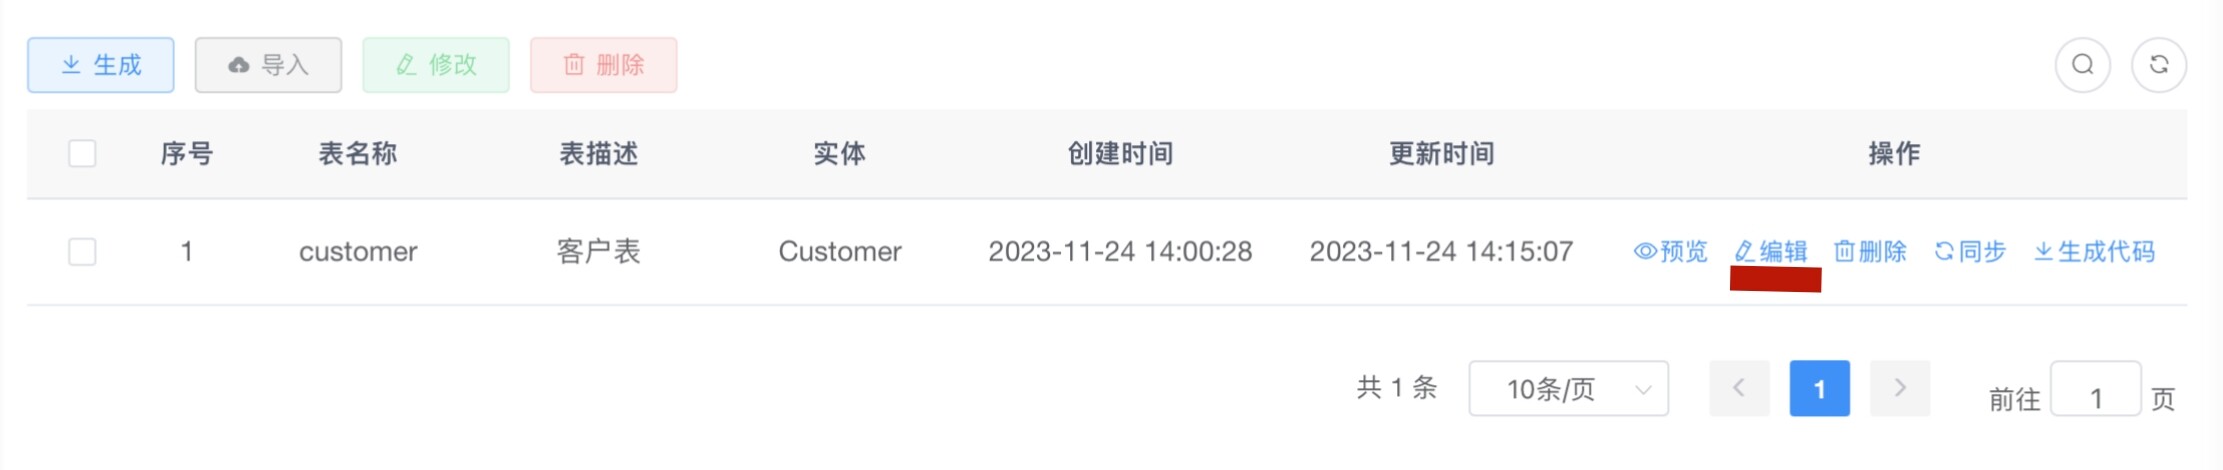
点击编辑,可以修改我们需要生成的功能的一些信息。
设置功能名为"客户管理",隶属于"系统管理"。
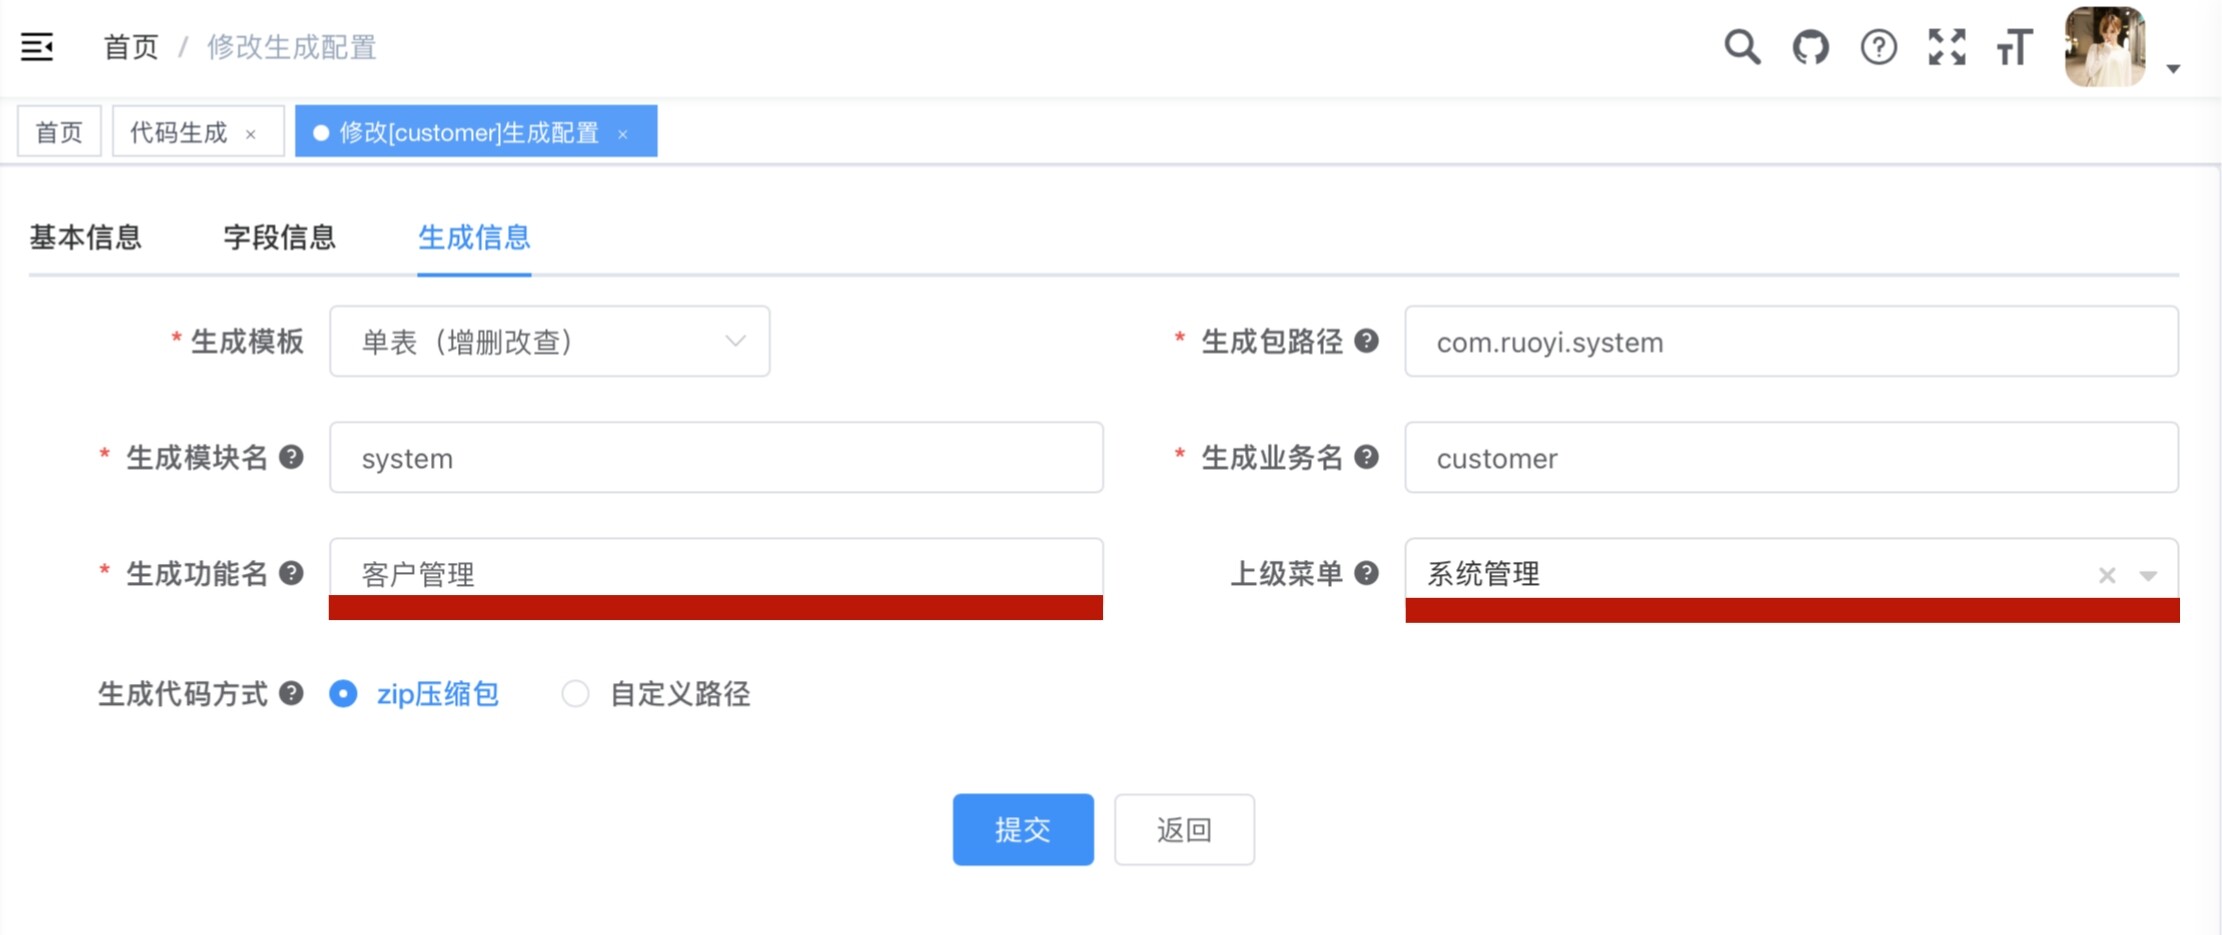
然后可以点击预览进行查看,点击生成代码下载文件。

复制
解压后的代码如下:
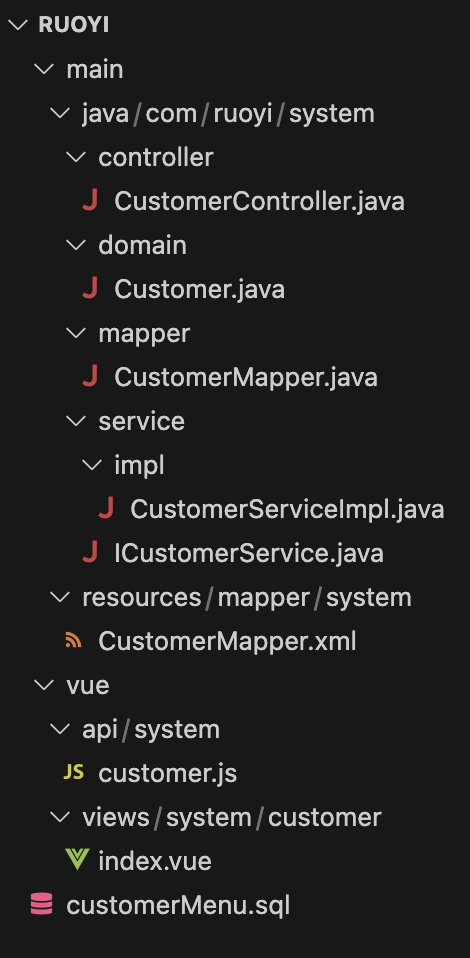
我们把文件复制到对应的位置
ruoyi-admin/src/main/java/com/ruoyi/web/controller/system/CustomerController.javaruoyi-system/src/main/java/com/ruoyi/system/domain/Customer.javaruoyi-system/src/main/java/com/ruoyi/system/mapper/CustomerMapper.javaruoyi-system/src/main/java/com/ruoyi/system/service/impl/CustomerServiceImpl.javaruoyi-system/src/main/java/com/ruoyi/system/service/ICustomerService.javaruoyi-system/src/main/resources/mapper/system/CustomerMapper.xmlruoyi-ui/src/api/system/customer.jsruoyi-ui/src/views/system/customer/index.vue
执行customerMenu.sql:
1 | -- 菜单 SQL |
最后,我们重启项目,功能已经实现。
界面修改
我们一般是某一个管理系统需要用到RuoYi,而且不希望在界面上有太多的RuoYi的标志,在这里讨论一下如何修改界面。
部署
后端
修改配置
logback.xml文件中的路径建议改为./logs。application.yml中的profile需要改为服务器存在的真实路径。
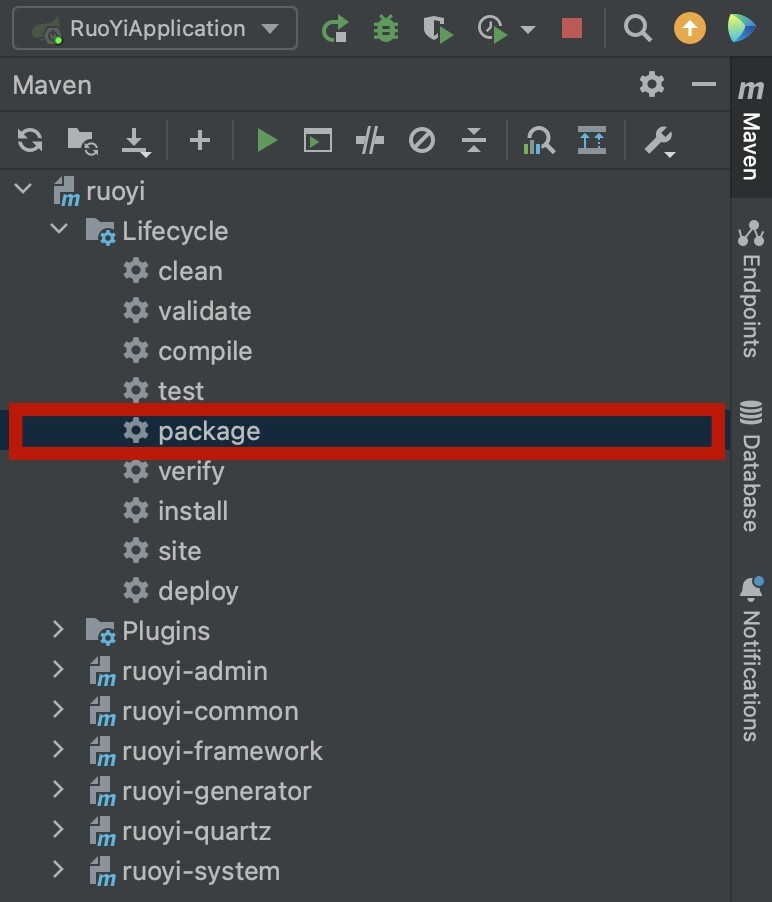
打包:
部署步骤:
- 将打包后的jar文件放在任意一个位置;
- 在服务器上和jar同一个目录下新建一个config目录,将项目里的
application-druid.yml、application.yml或者其他yml配置文件复制出来,放入config目录。
(在《21.SpringBoot [1/3]》的"多环境"的"外部配置文件"部分,我们讨论过配置文件的优先级,这种方法的优先级最高。) - 执行命令启动:
nohup java -jar ruoyi-admin.jar &
也可以利用ry.sh脚本,将ry.sh放在jar同级目录下
启动:./ry.sh start
停止:./ry.sh stop
重启:./ry.sh restart
状态:./ry.sh status
最后我们执行curl http://127.0.0.1:8080,会收到如下返回:
1 | 欢迎使用RuoYi后台管理框架,当前版本:v3.8.6,请通过前端地址访问。 |
前端
前端打包命令:
1 | npm run build:prod |
如果又出现了如下的错误:
1 | ERROR Error: error:0308010C:digital envelope routines::unsupported |
参数上文,将"build:prod": "vue-cli-service build",修改为:
1 | "build:prod": "export NODE_OPTIONS=--openssl-legacy-provider && vue-cli-service build", |
打包后会得到一个目录dist,将其传输到服务器上。
在nginx.conf进行如下的配置:
1 | server { |
root /root/dist;,配置的前端资源的地址proxy_pass http://localhost:8080/;,配置的是后端服务的地址
如果报类似如下的错误:
1 | [crit] 17192#0: *3 stat() "/root/dist/index.html" failed (13: Permission denied), client: 127.0.0.1, server: localhost, request: "GET / HTTP/1.1", host: "127.0.0.1" |
可以在nginx.conf的增加如下的配置:
1 | user root; |
nginx默认通过nobody用户启动,user root;的含义是通过root用户启动。
去除Redis
建议不去除
建议不去除,哪怕是部署一个本地的Redis,只给RuoYi用也好。
如果要去除,参考如下操作。
去除Redis的操作
去除redis配置
去除application.yml中,和Redis相关的配置。
1 | redis: |
去除ruoyi-framework下RedisConfig的配置
修改ruoyi-framework的com.ruoyi.framework.config.RedisConfig。
可以考虑直接注释@Bean、@Configuration和@EnableCaching等注解,不删除RedisConfig。
在ruoyi-common的core-redis下新建Cache类
使用ConcurrentHashMap替换Redis:
1 | package com.ruoyi.common.core.redis; |
修改RedisCache类
修改修改RedisCache类,替换为使用MyCache:
1 | package com.ruoyi.common.core.redis; |
- 对于和缓存时间相关的方法,可以根据实际需求修改。
修改ruoyi-common下utils.DictUtils
修改com.ruoyi.common.utils.DictUtils的getDictCache方法,需要将getCacheObject的返回值,显式转换成JSONArray的对象。
1 | /** |
修改基于Redis的限流
修改ruoyi-framework的com.ruoyi.framework.aspectj.RateLimiterAspect。
可以考虑直接注释相关的注解,不删除RateLimiterAspect。
关闭菜单
登录系统后,考虑关闭如下菜单:
- 缓存监控
- 缓存列表
- 在线用户